
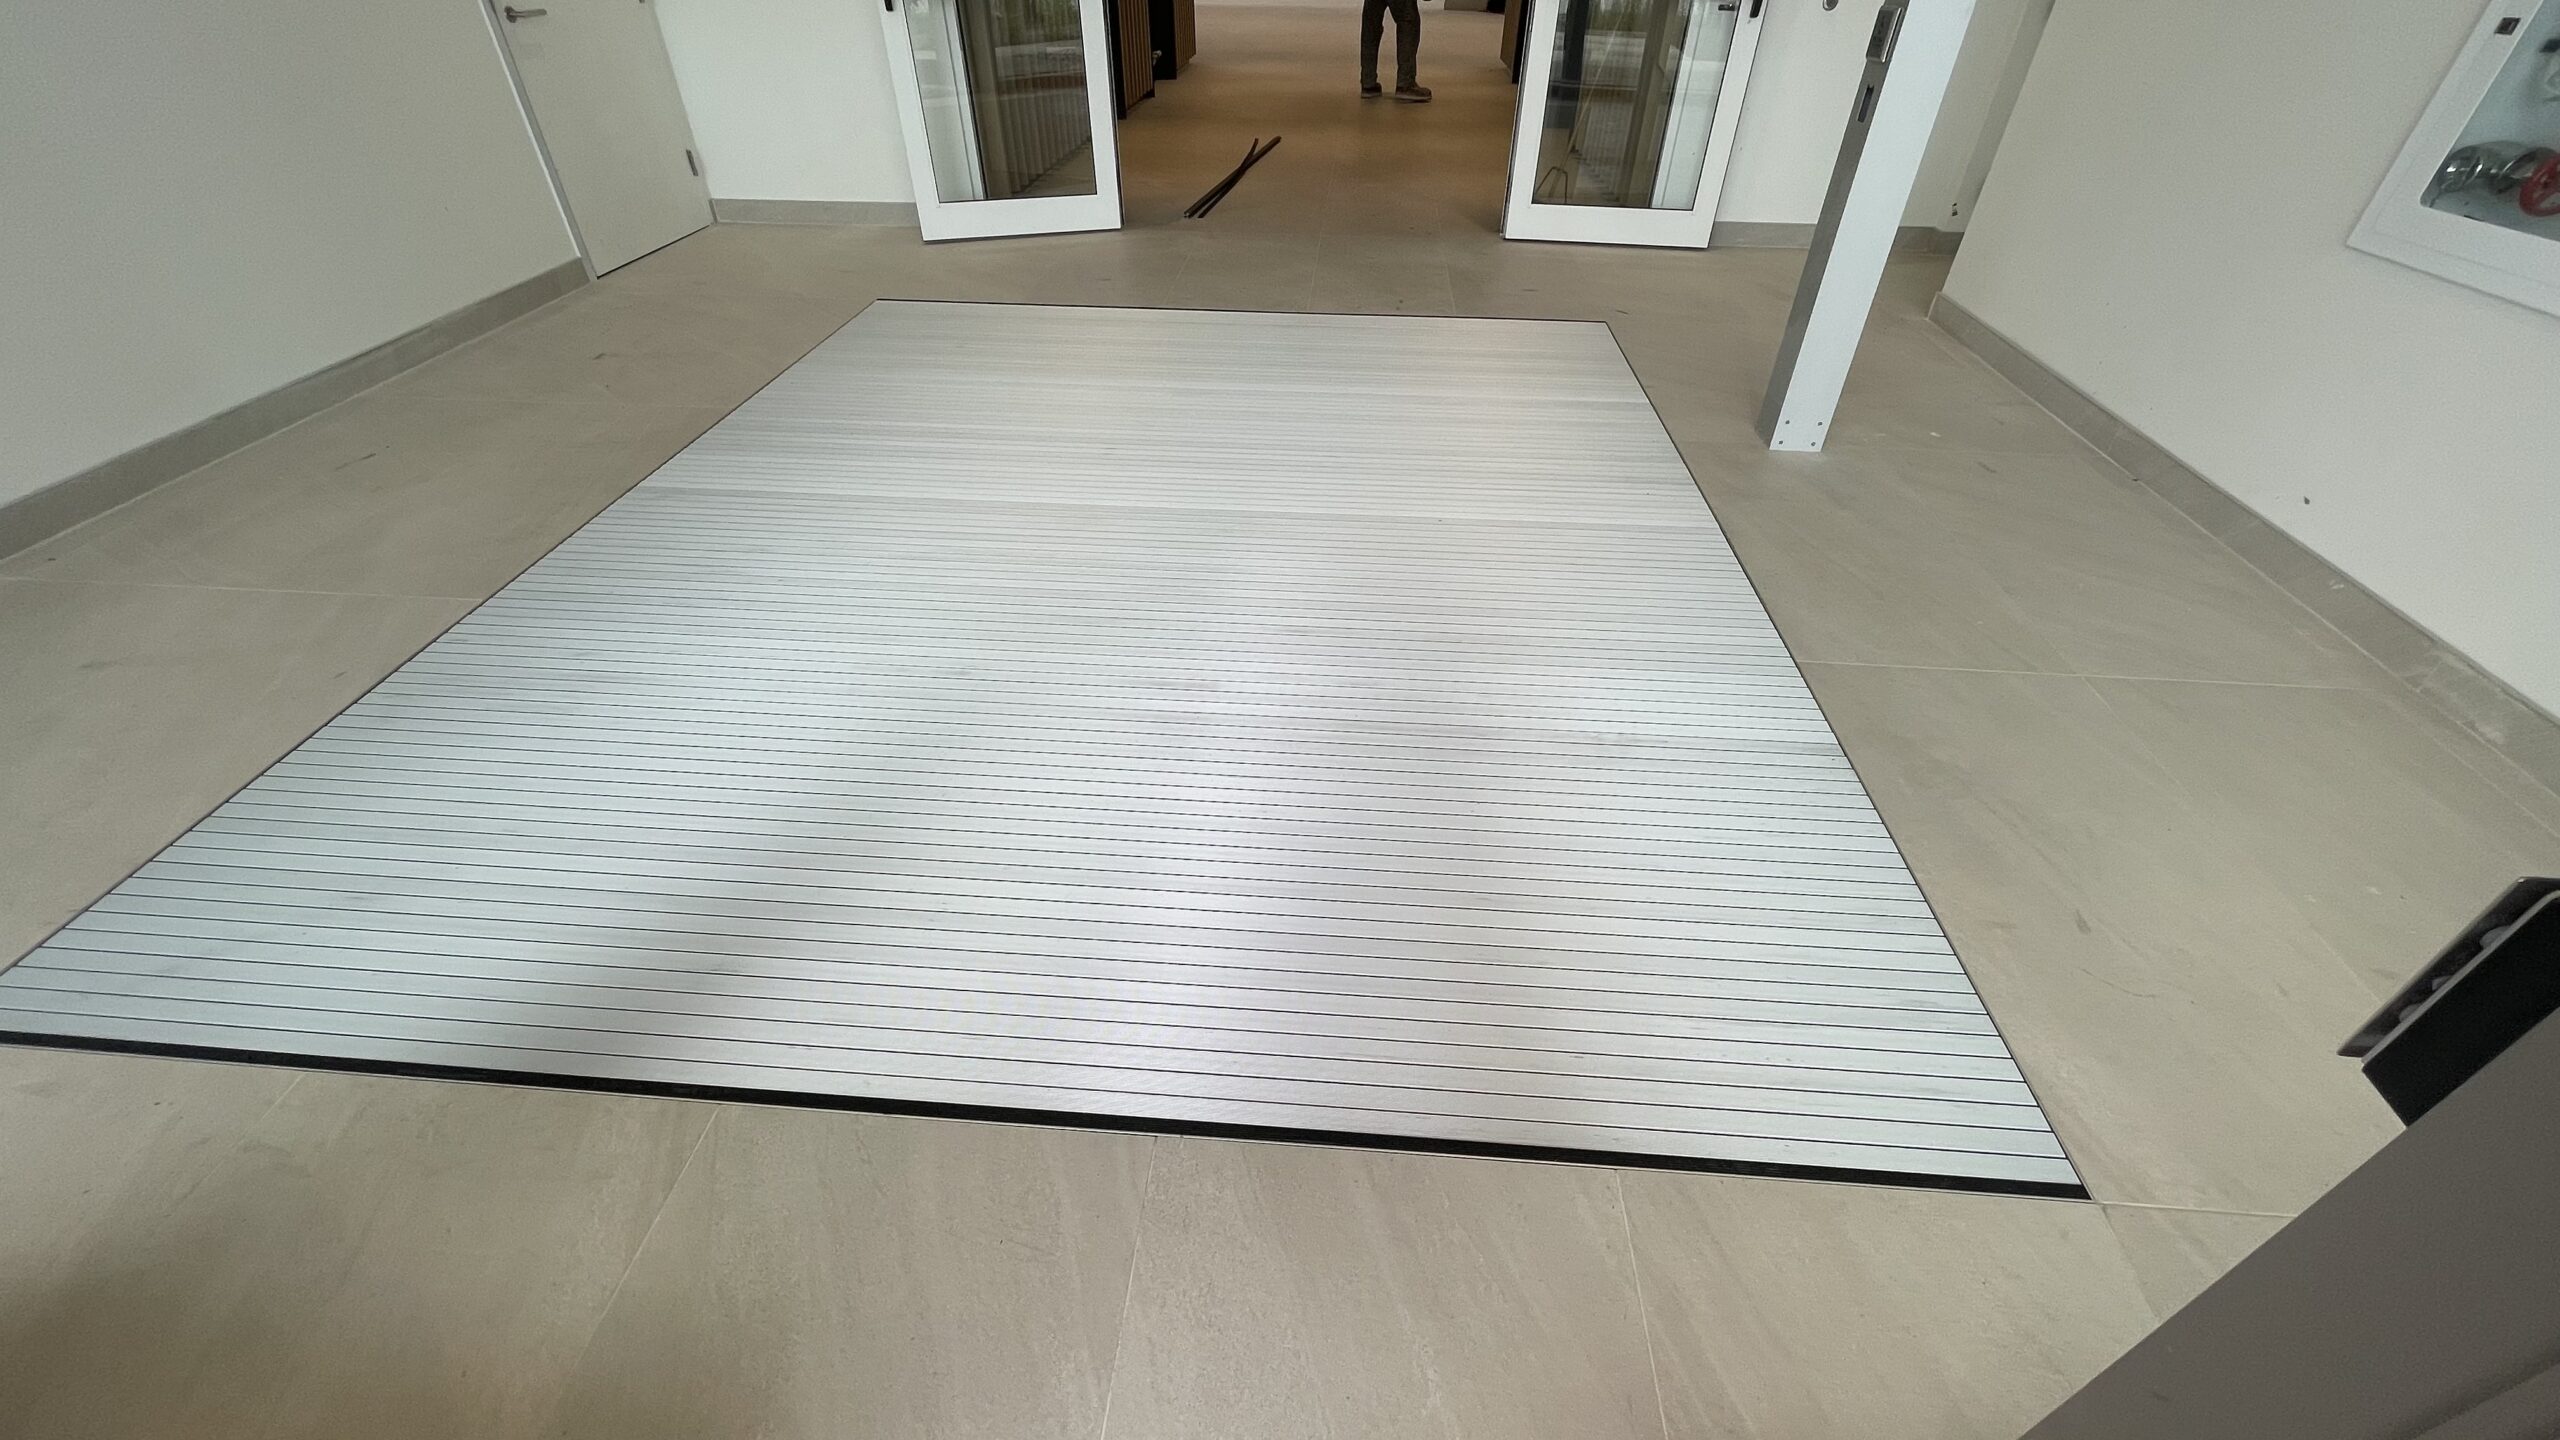
Most entrance grille problems we see on GTA sites are not product problems. They are sizing and coordination problems: a recess poured too shallow, a grille that stops short of where people actually walk, or a drain pan nobody accounted for. This guide covers what manufacturers recommend for length, depth and placement, and what to coordinate before the concrete goes in.
Start with walk-off length
An entrance system works by making people take several steps on it before they reach the finished floor. Each step scrapes off more grit and water. Too short, and most of the dirt ends up on the tile or carpet beyond it.
Construction Specialties (C/S) states that walking over about 10 feet (roughly 3 m) of its entrance flooring removes most of the moisture and dirt from footwear, and treats 10 feet as the minimum effective length. Use that as a floor, not a target. For busy Ontario entrances in winter, longer is generally better, and many designs split the length into zones:
- Exterior zone: a scraper-type grid outside or at the door to knock off snow, salt and mud.
- Vestibule zone: a recessed grid or heavy-duty mat between the outer and inner doors.
- Interior zone: a finer mat or carpet tread inside the inner door to dry footwear.
If budget allows only one, put it where people take the most steps under cover, usually the vestibule.
Width and layout
Size the grille to the traffic path, not just the door leaf. Run it the full width of the opening where possible so people cannot step around it. Remember traffic direction: mat and grid rails are designed to run a particular way relative to foot traffic, and C/S publishes maximum section sizes for each product, so larger areas are built from multiple sections joined in the field.
At revolving doors and odd-shaped vestibules, custom shapes and cut-outs are available from C/S. These need accurate dimensions early because they lengthen fabrication.
How deep should the mat well be?
There is no single answer. C/S says the required recess depth depends on the product and the frame you select, and its frame-specific CAD and BIM details show the overall depth for each combination. As a general picture from the C/S literature:
- Thin mat systems such as Pedimat need a shallow recess, and some can be surface mounted with tapered edges.
- Tread systems such as PediTred sit a little deeper.
- Grid systems such as Pedigrid and GridLine need more depth, and deep pit frames need considerably more.
- Drain pans add depth again.
The practical rule: pick the product and frame before the slab is detailed, then take the recess depth from the manufacturer’s drawing for that exact frame. Do not copy a depth from a previous job.
Frames change the recess
The frame type affects both depth and installation method. In the C/S installer resources, level base frames need self-levelling grout placed between the frame legs, while tapered angle frames use a shallower recess and fasten down with masonry anchors. Deep pit frames create a well for dirt and meltwater, and C/S offers some with a slope to drain.
Ask the architect which frame is intended. If the spec just says “recessed,” clarify it in an RFI before you price it.
Do you need a drain pan?
Not always. C/S recommends drains or drain pans mainly where the entrance sees higher-than-average snow or rain, and notes most indoor installations do not need one. Drain pans add cost and complexity, and C/S suggests sealing the concrete as a lower-cost alternative where drainage is not required.
In Ontario, an exterior grille or an unheated vestibule at a high-traffic door is the most likely place to need one. If you are adding a drain, the plumbing and slab slope have to be in the drawings before the pour.
Placement relative to doors
- Keep the grille flush with the finished floor. Accessibility rules limit vertical changes at the edge, and C/S notes its systems use openings under 1/4″.
- Check door swings, thresholds and floor closers. A threshold frame can give a flush transition at the door line on some systems.
- Coordinate with the flooring trade so the finished floor height on each side matches the top of the frame.
- Consider what rolls across it. Loading docks, hospital entries and school deliveries need a frame and product rated for that rolling load.
Coordinating with the concrete pour
This is where most issues start. A short checklist for the GC and the concrete sub:
- Confirm product, frame and drain pan before the slab is detailed, and show the recess on the structural and architectural drawings.
- Form the recess to the manufacturer’s depth, with straight, square side walls.
- After the pour, field verify width, length and both diagonals, and check the depth is consistent across the well.
- Grind high spots and fill low spots with grout before the frame goes in.
- Submit shop drawings only after the recess is field verified, since grilles are fabricated to those dimensions.
- Protect the recess from debris and water until install, and keep the grille covered until closeout.
C/S offers template kits and template services for recesses that are hard to measure, which helps on curved or irregular openings.
A GRIT example
On the Macdonald Block for the Government of Ontario in 2024, GRIT installed GritLine deep pit grilles at multiple entrances. Each location had its own recess condition, so field verifying before fabrication was part of the scope. More examples are on our projects page.
Get your entrance sized and priced
GRIT Construction Services supplies and installs C/S entrance systems, GritLine deep pit grilles and stainless trench covers across Ontario and the GTA. We can review your recess details, flag coordination issues early, and quote within 48 hours of receiving drawings. See our entrance grilles page, call (647) 382-8256, or contact us with your drawings.
Sources: C/S Entrance Flooring Design and Selection; C/S Entrance Flooring FAQs; C/S Installer Resource Center.